Summary
A healthy lawn is the foundation of a beautiful property. For homeowners in Richmond Hill, the quickest way to achieve a thick, green yard is through professional sod installation. Many ask where they can purchase SOD near me, while others look for trusted contractors who understand the soil, grading, and climate of the region. This guide explores everything you need to know about preparing your yard, choosing the right sod, and making sure your investment lasts. With the right approach to SOD installation in Richmond Hill, your outdoor space can quickly become the lush landscape you’ve always wanted.
Why Homeowners Choose Sod Instead of Seed
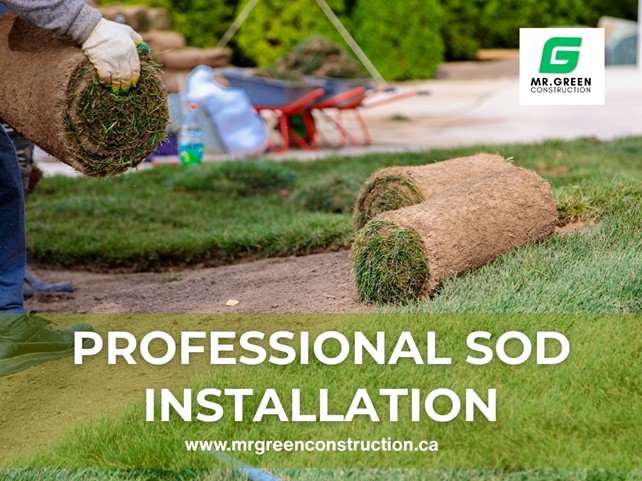
While seeding is an option, sod has become the preferred choice for homeowners who want immediate results. Seed takes weeks to sprout and often struggles against weeds, pests, and weather conditions. Sod, on the other hand, arrives as mature grass that can transform a bare patch of dirt into a lush lawn in a single day.
Benefits include:
- Immediate curb appeal with an established green lawn.
- Reduced erosion because sod roots hold soil in place.
- Greater success in areas with slope or drainage issues.
- Fewer weeds compared to starting from seed.
- A more predictable outcome since sod is grown in controlled farms.
For busy families or property owners who want quick, reliable results, sod offers both beauty and practicality.
Where Can You Purchase SOD Near You?
This is one of the first questions homeowners ask when they decide to install sod. Big box stores may carry SOD rolls during certain seasons, but quality and freshness often vary. Sod that has been sitting on pallets for days will not establish as well as freshly harvested rolls from a trusted supplier.
Here’s what to look for when buying sod:
- Freshness: Sod should be cut and delivered the same day it is installed.
- Grass type: Make sure the variety is suited for Richmond Hill’s climate.
- Supplier reputation: Work with companies that specialize in sod farming, not just general landscaping products.
- Convenience: Many professional contractors source sod directly, saving you the time and effort of tracking it down.
The most reliable option is to work with a local contractor who manages the sourcing for you. This ensures the sod is cut fresh, transported properly, and installed without delay.
Preparing Your Yard Before Sod Installation
Successful sod installation begins with preparation. Without proper groundwork, even the highest quality sod will struggle to take root.
Steps to prepare your yard include:
- Clear the area –
Remove any old grass, weeds, or debris. A clean base prevents competition for nutrients. - Test and amend the soil –
Check the pH and nutrient levels. In Richmond Hill, clay-heavy soils often require organic matter or sand for better drainage. - Grade the yard –
Ensure the slope directs water away from the foundation of your home. Proper grading prevents pooling and root damage. - Install irrigation if needed –
A sprinkler system or hose setup makes it easier to water sod during the crucial early weeks. - Lay a nutrient base –
Adding a starter fertilizer provides essential nutrients for root growth.
Laying the Sod the Right Way
Once the ground is ready, timing and technique matter. Sod should be installed immediately after delivery to prevent drying out.
Best practices for laying sod include:
- Start along straight edges such as driveways or sidewalks to keep the rows aligned.
- Stagger the seams in a brick-like pattern to avoid visible lines.
- Press edges tightly together so no gaps remain between rolls.
- Use a sod roller to eliminate air pockets and ensure good root-to-soil contact.
- Water immediately after installation so the sod can begin bonding with the soil.
Caring for Sod After Installation
The work does not stop once sod is rolled out. Proper aftercare ensures the grass roots establish fully.
- Watering schedule –
- First two weeks: water daily so the soil remains consistently moist.
- Weeks three to four: Reduce watering to every other day.
- After the first month, water deeply two to three times per week.
- First mowing –
Wait until the grass reaches about three inches in height before mowing. Make sure mower blades are sharp to avoid tearing. - Fertilization –
Apply fertilizer after three to four weeks to strengthen the root system. - Traffic control –
Avoid heavy foot traffic on new sod for at least three weeks. - Weed control –
Do not use herbicides until the sod is fully established, typically after two months.
Common Mistakes to Avoid
Even high-quality sod can fail if mistakes are made during installation or aftercare. Some common errors include:
- Leaving gaps between rolls that dry out and create brown patches.
- Overlapping sod pieces, which leads to uneven growth.
- Allowing sod to sit too long before installation causes it to dry and die.
- Watering too little in the first two weeks prevents root establishment.
- Cutting the grass too short during the first mowing.
Avoiding these mistakes will protect your investment and ensure long-term results.
Why Hire Professionals Instead of DIY
While some homeowners attempt sod installation themselves, professional services offer clear advantages.
- Expert assessment of soil and grading conditions.
- Access to fresh sod from trusted suppliers.
- Proper equipment including rollers and cutting tools.
- Efficient installation that saves time and prevents costly mistakes.
- Guidance on aftercare tailored to your property’s unique conditions.
In Richmond Hill, working with a local contractor like Mr Green Construction ensures that your sod is not only installed correctly but also supported by long-term knowledge of the climate and soil.
Long-Term Benefits of Sod Installation
Sod is more than a quick fix. It brings long-term advantages that improve both property value and daily living.
- Immediate curb appeal that makes your home more inviting.
- Increased property value for future resale.
- Cleaner air as sod filters dust and produces oxygen.
- Lower temperatures around your home by reducing heat reflection.
- Better erosion control that protects soil and landscaping.
With the right care, a sod lawn can remain vibrant and healthy for decades.
Questions Homeowners Often Ask
Q1. How soon can I walk on new sod?
Light foot traffic is fine after two weeks, but heavy use should be avoided until the sod is well established.
Q2. Can sod be installed at any time of year?
Sod can be laid in spring, summer, or fall. The key is consistent watering during the establishment period.
Q3. How do I know if my soil is ready for sod?
The soil should be loose, level, and free of debris. A soil test helps determine if amendments are needed.
Q4. What type of grass works best in Richmond Hill?
Cool-season grasses such as Kentucky bluegrass and fescue varieties tend to perform best in this region.
Q5. Is it cheaper to seed instead of using sod?
Seeding costs less upfront but requires more maintenance, has higher failure rates, and takes much longer to establish. Sod provides immediate results and long-term value.
A well-installed sod lawn can completely transform a property. From preventing erosion to providing an instant green landscape, sod is a smart choice for homeowners who want both function and beauty. The key lies in proper preparation, correct installation, and careful aftercare. If you are considering SOD installation in Richmond Hill, working with professionals makes all the difference. At Mr Green Construction, we source fresh sod, prepare the soil properly, and handle every step with care. Our team ensures your new lawn not only looks great on day one but also thrives for years to come. Call us today to learn more about our sod installation services and take the first step toward a healthier, greener yard.